There are several ways by which you can guarantee that the target server has the necessary lists and schemas but leveraging STP package is a good practice.
Package the lists into STP packages
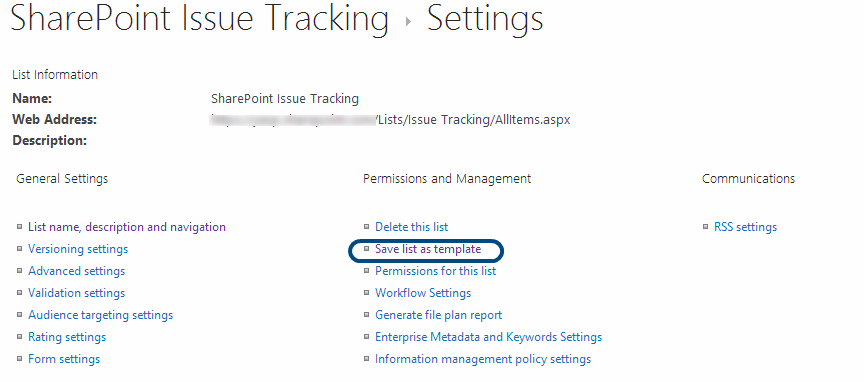
So let’s package SharePoint Issue Tracking list into a STP package.
You can do this via either server UI or SPD UI as shown below.

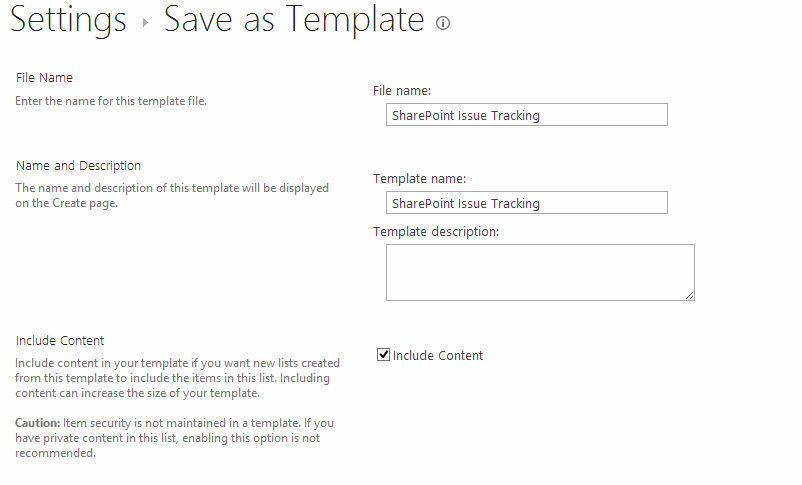
Then, you will see the following screen where you can type in the name and choose to package the contents as well.

And if successful, it will guide you to a place where you can download the package.

Click the link and download the package for later use.
If successful, you must have STP package.
Deploy the STP package
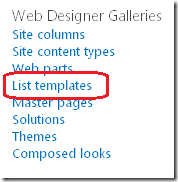
Open the target site in your browser and go to Site Settings. You can find ‘List templates’ menu under Web Designer Galleries group.

Using the ‘Upload Document’ under ‘Files’ menu, upload the STP package.

Create list using the deployed list template
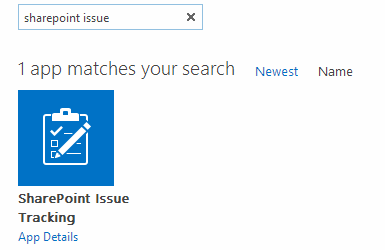
You can create the list from the deployed list template. Go to Site Contents in the navigation menu in the server and click ‘add an app’. You should be able to find SharePoint Issue Tracking icon.

Create SharePoint Issue Tracking lists using this menu.
Prerequisites for list templates
Your list must meet the following criteria to move a list by using a list template (source):
- The list must contain less than 10 megabytes (MB) of list data.
- You must be a member of a site group with the Manage Lists right on the source site and on the destination site. By default, the Manage Lists right is included in the Web Designer and Administrator site groups.
- The source site and the destination site must be based on the same site template.
References
Packaging SharePoint 2013 List, Site, and Reusable Workflow and How to Deploy the Package


