XSLT-approach of modifying list forms:
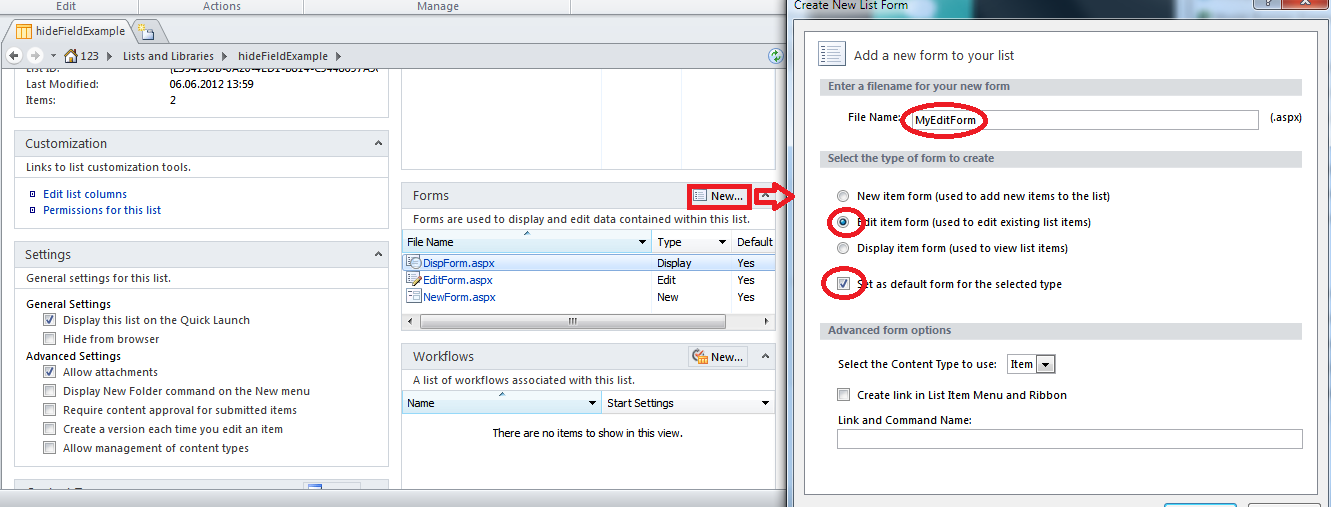
Open SharePoint Designer.
Go to Lists and Libraries, then open your list.
Then, find "Forms" box, and click "New" button.
Select edit form type, make it default edit form, and enter it's name.

Large size screenshot: https://i.sstatic.net/N0e3x.png
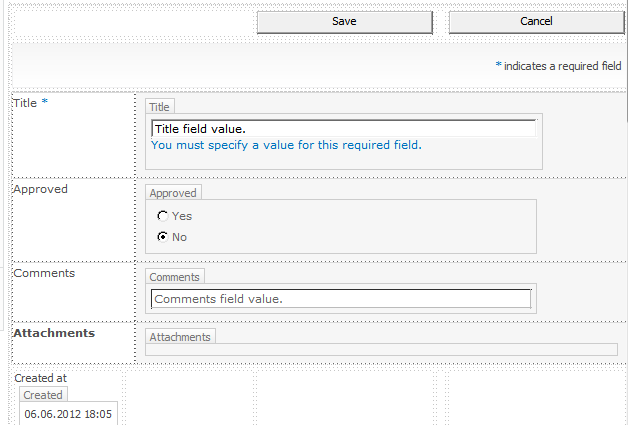
- Now click on your new form name. The form editor will be opened. It will look something like this in design mode:

Click on the Comments field.
Now switch to "Code" tab (on the status bar below the design view of the form).
There you will see some XSLT code. The code which corresponds selected item in the design view will be selected too, somewhere inside dvt_1.rowedit xsl:template.
Now you should wrap the <tr> element, which shows "Comments" line, with <xsl:if> element. The result code will look something like this:
<xsl:if test="@Approved = 'Yes'">
<tr>
    <td width="190px" valign="top" class="ms-formlabel">
        <H3 class="ms-standardheader">
            <nobr>Comments</nobr>
        </H3>
    </td>
    <td width="400px" valign="top" class="ms-formbody">
        <SharePoint:FormField runat="server" id="ff3{$Pos}" ControlMode="Edit" FieldName="Comments" __designer:bind="{ddwrt:DataBind('u',concat('ff3',$Pos),'Value','ValueChanged','ID',ddwrt:EscapeDelims(string(@ID)),'@Comments')}"/>
        <SharePoint:FieldDescription runat="server" id="ff3description{$Pos}" FieldName="Comments" ControlMode="Edit"/>
    </td>
</tr>

</xsl:if>
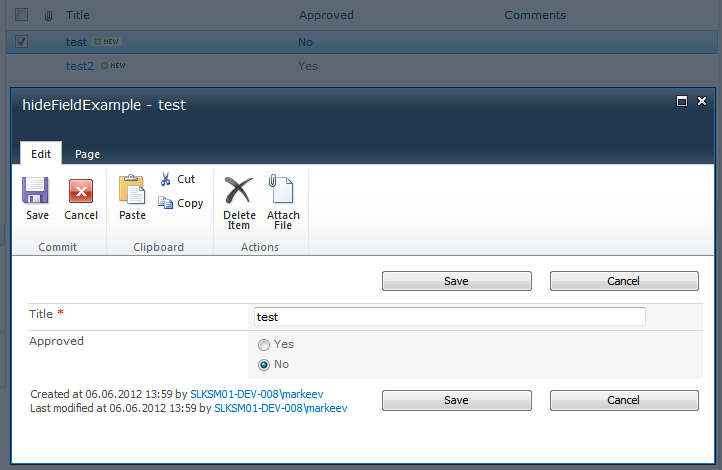
Now if you save the form, you will get desired result.

Important notice: XSL transformations are performed server-side, so the Comments row will not be hidden/shown dynamically unless you refresh page each time user changes Approved field value.
In some circumstances, static approach will be enough. That depends on the supposed usage scenario.
If it's not, I'd recommend you to use either InfoPath, or JavaScript/jQuery hack. InfoPath is more preferrable solution.
Here is the official article which explains InfoPath conditional formatting functionality:
For JavaScript/jQuery hack, just add a Content Editor WebPart to the list form (it will be even not necessary to create a custom form in SPD) and use jQuery/js. There are some ready-to-use JavaScript libraries, designed for this purpose. As an example, there is SPUtility.js opensource project, which is maintained by Kit Menke:
Also, here is article about how to do it manually:


